So, you recently acquired a Lacrosse weather station, but for some reason, it’s not functioning as it should. Don’t worry, we’ve got you covered! In this article, we will take you through a step-by-step guide on how to reset your Lacrosse weather station, allowing you to start fresh and ensure accurate weather readings. By following these simple instructions, you’ll have your weather station up and running again in no time, ready to provide you with all the essential weather information you need. Let’s get started!

Step 1: Understand the Need for Resetting
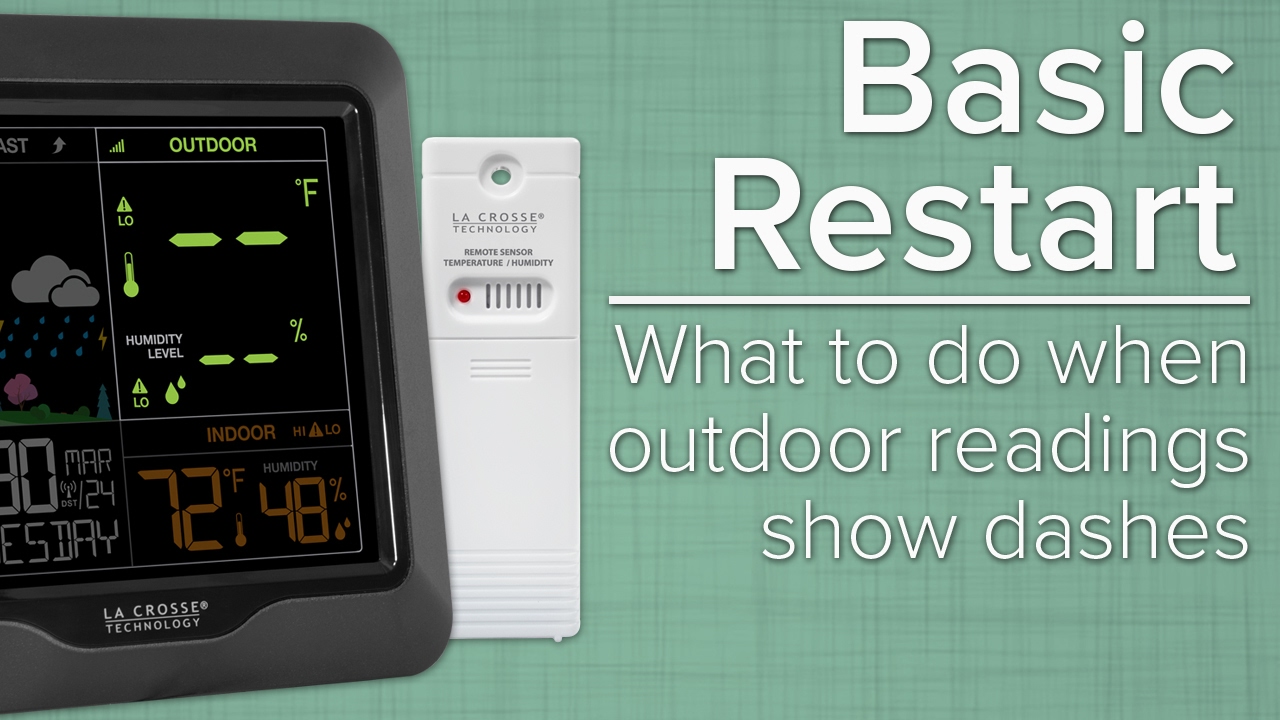
When it comes to using a Lacrosse weather station, there may be instances where you encounter issues or notice discrepancies in the readings. These could be signs that your weather station needs to be reset. It’s important to be able to identify these signs and understand why a reset is necessary.
Identify the signs that indicate a reset is necessary
There are a few indicators that suggest it’s time to reset your Lacrosse weather station. One common sign is inconsistent or inaccurate readings. If you notice that the temperature, humidity, or other measurements are not aligning with the actual conditions, it may be time for a reset. Additionally, if you’re experiencing connectivity issues between the weather station and its display console or mobile app, a reset might help resolve these problems.
Know the benefits of resetting your Lacrosse weather station
Resetting your Lacrosse weather station can offer several benefits. First and foremost, it can help restore the station’s functionality and accuracy. By resetting the device, you’re essentially starting fresh and giving it a chance to recalibrate and establish proper connections. It can also help resolve any software glitches or conflicts that may have occurred over time. Ultimately, a reset can ensure that you’re getting the most reliable and accurate weather data possible from your Lacrosse weather station.
Step 2: Gather the Required Materials
Before you proceed with resetting your Lacrosse weather station, it’s important to gather all the necessary materials. This will ensure a smooth process without any interruptions.
Check the user manual or manufacturer’s website for specifics
Start by referring to the user manual that came with your Lacrosse weather station. The manual should provide detailed instructions on how to reset the device. If you no longer have the manual, you can also visit the manufacturer’s website to find the specific guidelines for your model. Make sure to note down any specific instructions or precautions mentioned in the manual or on the website.
Ensure you have the necessary tools and accessories
In most cases, resetting your Lacrosse weather station won’t require any additional tools. However, it’s always a good idea to double-check if there are any specific tools or accessories needed for the reset process. For example, if the battery compartment needs to be accessed, you might need a screwdriver to remove the cover. By ensuring you have all the necessary tools and accessories beforehand, you can avoid any delays or frustration during the reset process.
Step 3: Power off the Weather Station
Now that you have everything you need, it’s time to power off your Lacrosse weather station before initiating the reset.
Locate the power source and disconnect it
First, locate the power source of your weather station. This could be a power adapter or a USB cable connected to a power outlet, or it could be batteries powering the device. If your weather station has a power adapter or USB cable, unplug it from the power source. If the station is powered by batteries, remove them from the battery compartment.
Remove any batteries or backup power sources
If your Lacrosse weather station has backup power sources, such as internal batteries or capacitor-based power supplies, make sure to remove these as well. By disconnecting all power sources, you ensure that the device is completely powered off and ready for the reset process.
Step 4: Wait for System Shutdown
Once you have disconnected the power sources, it’s important to allow sufficient time for your Lacrosse weather station to completely power down. This step ensures that any residual power is drained and the device is in a completely off state.
Allow sufficient time for the weather station to completely power down
The duration of the system shutdown may vary depending on the specific model of your Lacrosse weather station. It’s recommended to wait at least 5-10 minutes to ensure that all internal components have fully discharged. This waiting period will help guarantee that the reset process starts with a clean slate.
Check the display to ensure there are no remaining signs of power
After the waiting period, check the display console or any other display mechanism on your Lacrosse weather station. Verify that there are no signs of remaining power, such as a backlight or any information still displayed. If you see any signs of power, wait a little longer and ensure that the device has completely shut down before proceeding to the next step.

Step 5: Power On the Weather Station
Now that you have given your Lacrosse weather station enough time to power down, it’s time to power it back on and initiate the reset process.
Reconnect the power source or insert new batteries
If your weather station is powered by a power adapter or USB cable, now is the time to reconnect it to the power source. Make sure the connection is secure and properly inserted. If your device runs on batteries, insert new ones into the battery compartment, ensuring the correct polarity.
Wait for the system to fully boot up
Once the power source is reconnected or the batteries are inserted, give your Lacrosse weather station a few moments to fully boot up. This process may take a minute or two, depending on the specific model and its features. During this time, the device will start initializing its components and establishing connections.
Step 6: Access the Settings Menu
To proceed with the reset process, you will need to access the settings menu of your Lacrosse weather station.
Find the settings button or menu on the weather station
The exact location and method of accessing the settings menu may vary depending on your particular model. Look for a dedicated settings button or menu on the display console of your weather station. In most cases, you can navigate through the menu using arrow buttons or a touch screen interface. If you’re unsure how to access the settings menu, refer back to your user manual or manufacturer’s instructions.
Refer to the user manual or manufacturer’s instructions if needed
If you’re having difficulty locating or accessing the settings menu, don’t hesitate to refer to the user manual or any additional instructions provided by the manufacturer. These resources will provide you with step-by-step guidance on how to navigate through the menu and access the necessary options for resetting your Lacrosse weather station.

Step 7: Factory Reset the Weather Station
Now that you’re in the settings menu of your Lacrosse weather station, it’s time to initiate the factory reset process.
Locate the factory reset option within the settings menu
Within the settings menu, look for an option that allows you to perform a factory reset. This option is typically labeled as “Reset to Factory Defaults” or something similar. The exact wording may vary depending on the model. Take your time to navigate through the menu and locate the correct option.
Follow the specific steps provided by the manufacturer
Once you have found the factory reset option, follow the specific steps mentioned in your user manual or manufacturer’s instructions. The process may involve confirming your decision, entering a security code, or following a specific sequence of button presses. It’s important to carefully follow the provided instructions to ensure a successful reset.
Step 8: Confirm the Reset
Before proceeding with the reset, you will likely encounter warning prompts or confirmation messages.
Review the warning prompts or confirmation messages
When initiating the factory reset, your Lacrosse weather station may display warning prompts or confirmation messages to ensure you understand the consequences of your actions. Take a moment to read and review these messages. They may warn you that all saved settings and data will be lost and cannot be recovered.
Select the appropriate option to confirm the reset
After reviewing the warning prompts or confirmation messages, select the appropriate option to confirm the reset. This could be a “Yes” or “Confirm” button. Make sure to double-check your decision before confirming, as the reset process cannot be undone. Once confirmed, the Lacrosse weather station will begin resetting, and all settings will be returned to their factory defaults.

Step 9: Set Up the Weather Station
After the factory reset is complete, you will need to set up your Lacrosse weather station again.
Follow the initial setup process as guided by the weather station
Once the reset is done, your Lacrosse weather station will guide you through the initial setup process. This typically involves setting the correct time and date, selecting the desired units of measurement, and entering your location information. Pay close attention to each step and input the required information accurately.
Input your desired settings, units of measurement, and location information
During the setup process, you will have the opportunity to customize various settings according to your preferences. Choose the units of measurement you prefer, such as Fahrenheit or Celsius for temperature, inches or millimeters for rainfall, and so on. Additionally, input your location information accurately to ensure the weather station provides accurate local forecasts.
Step 11: Monitor and Test
Once you have completed the setup process, it’s time to closely monitor and test your Lacrosse weather station to ensure it’s functioning properly after the reset.
Keep an eye on the weather station’s readings and performance
Observe the readings displayed by your Lacrosse weather station and compare them to the actual weather conditions. Note any discrepancies or inconsistencies and monitor if they persist. This will help you assess whether the reset has resolved any previous issues or if further steps need to be taken.
Perform additional checks or tests to ensure its accuracy
To ensure the accuracy of your weather station, it’s a good idea to perform additional checks or tests. Compare its readings to those from another reliable weather source, such as a local weather station or an online weather service. If you notice significant differences, consider calibrating your Lacrosse weather station or contacting the manufacturer’s customer support for further assistance.
By following these step-by-step guidelines, you can confidently reset your Lacrosse weather station and restore its functionality. Remember to consult the user manual and manufacturer’s instructions for specific details regarding your model. Resetting your weather station can often be the solution to any issues you may have been experiencing, ensuring you receive accurate and reliable weather data.
